A bathroom can look freshly remodeled and still be difficult to use. A narrow doorway, a tub wall that is too high to step over, or a toilet squeezed between a vanity and shower can turn a daily routine into a source of frustration. When homeowners ask how to design an accessible bathroom, the best answer starts with the layout, not the decorative finish selections.
An accessible bathroom should support the person using it now while giving the home more flexibility for the years ahead. That may mean planning for aging in place, accommodating a family member with limited mobility, or simply making bathing and grooming safer for everyone. Good accessibility is not clinical-looking. With the right planning, it can feel like a well-built, comfortable bathroom that happens to work better.
Start With the Way the Bathroom Is Used
Before moving walls or selecting tile, consider the real routines that happen in the space. Is this a primary bathroom used every day, a hall bath shared by children and guests, or a bathroom intended for a parent returning home after surgery? The right design depends on who needs access, what mobility aids may be used, and whether the room must remain functional during a phased renovation.
Walk through the existing room and identify the points that create difficulty. Common problems include doors that swing into a tight path, poor lighting around the vanity, limited elbow room beside the toilet, slick flooring, and tubs that require a high step. These details may seem small individually, but they add up quickly in a confined space.
A professional remodel should also look beyond the visible finishes. Plumbing locations, wall framing, ventilation, drain placement, electrical capacity, and the structure below the floor all affect what can be changed safely and cost-effectively. In many Fort Worth homes, the foundation and existing plumbing layout can make a curbless shower more involved than it appears. That does not mean it cannot be done. It means the drainage and floor transition need to be planned correctly from the start.
How to Design an Accessible Bathroom Layout
Clear floor space is the foundation of an accessible bathroom. A person should be able to approach the toilet, vanity, and shower without twisting through a narrow opening or backing out of a dead end. For wheelchair users, designers often plan for a 60-inch turning circle or a T-shaped turning area, although the exact solution depends on the room and the user’s needs.
Doorways deserve close attention. A wider opening – often 32 inches of clear width at minimum for accessibility planning – can make a major difference. A pocket door can preserve valuable floor space, but only if the wall can accommodate it and the door hardware is easy to operate. An outswing door is another option when an inward-swinging door blocks access or could prevent help from entering if someone falls inside the room.
The toilet area needs enough open space for a comfortable side or front transfer when mobility is limited. It also needs solid framing behind the wall for grab bars. This is one of the simplest details to get right during remodeling and one of the most expensive to add later after tile and drywall are finished. Even if grab bars are not needed immediately, installing proper blocking now protects the homeowner’s future options.
A vanity should be selected for use, not just appearance. A floating vanity can provide more toe clearance and make floor cleaning easier. An open knee space may be appropriate for a seated user. A standard-height vanity can be uncomfortable for some homeowners, while a taller cabinet may work well for others. There is no single best height. The homeowner’s stature, mobility, and daily needs should guide the decision.
Build the Shower for Safe, Practical Use
For many homeowners, replacing a tub-shower combination with a walk-in shower provides the greatest accessibility improvement. A low-threshold shower reduces the trip hazard at the entry. A true curbless shower removes that threshold entirely, but it requires careful structural and drainage planning so water stays where it belongs.
The shower floor must slope consistently toward the drain, and the waterproofing system must be installed as a complete system according to manufacturer requirements. Tile and grout are only the finished surface. Proper substrate preparation, waterproof membranes, drain integration, and flood testing are what protect the framing and adjacent rooms from water damage.
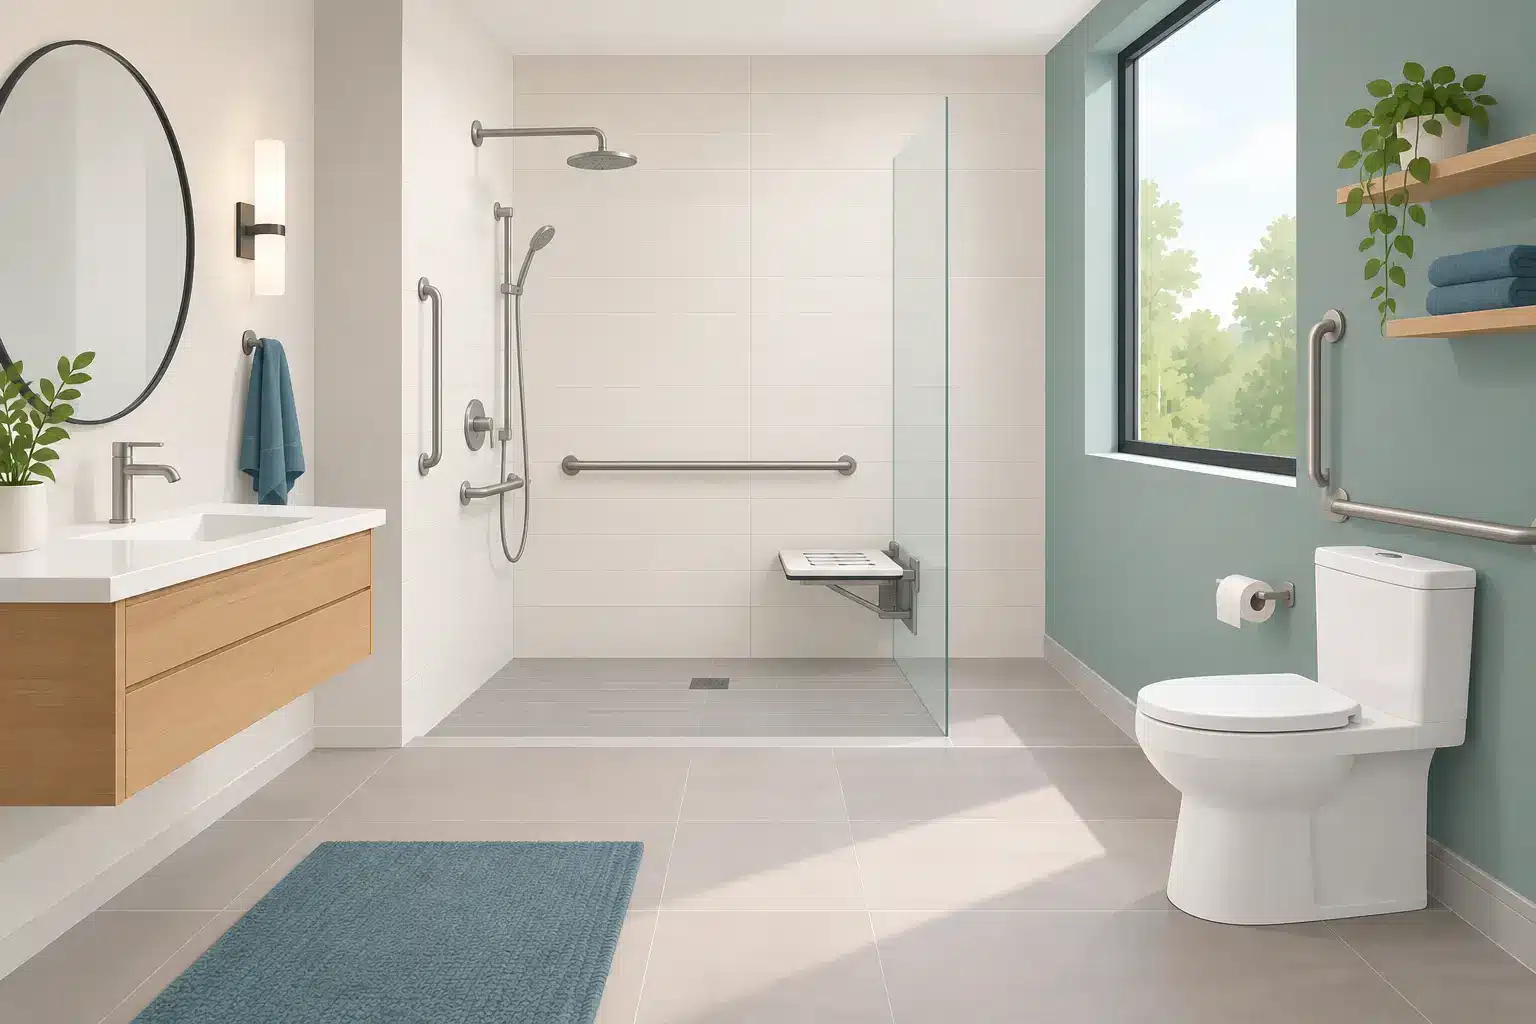
A larger shower is generally easier to use, especially when a caregiver may need room to assist. A built-in or securely mounted folding seat can add comfort without making the shower feel crowded. Handheld showerheads on an adjustable slide bar allow users to bathe while seated or standing. Controls should be within easy reach of the entry or seat, not placed where someone must step into running water to adjust the temperature.
Choose the shower floor material carefully. Small-format tile can provide more grout joints for traction, but grout requires regular maintenance. Textured porcelain can offer a cleaner look with lower maintenance, provided its slip-resistance rating is suitable for wet areas. Natural stone may be attractive, but it can require more maintenance and may become slippery depending on the finish. This is a place to prioritize performance over a trend.
Plan for Support Without Making the Room Feel Institutional
Grab bars are safety equipment, but they do not have to look like hospital hardware. Many current options coordinate with faucets, towel bars, and other bath accessories. The key is not the finish. The key is secure installation into framing or properly engineered mounting support.
Place support where it will be used: near the toilet, at the shower entry, and along shower walls where balance is needed. Towel bars, shower doors, and lightweight accessories are not substitutes for grab bars. They are not designed to carry a person’s weight and can fail when support is needed most.
Lighting also provides support. Layered lighting at the vanity, ceiling, and shower reduces shadows that make changes in floor level or wet surfaces harder to see. Use bright, even lighting and locate switches where they can be reached easily from the doorway. Rocker switches are typically easier to operate than small toggle switches, particularly for homeowners with arthritis or limited hand strength.
Select Finishes That Hold Up to Daily Life
Accessible design works best when the materials are durable enough to stay safe and attractive over time. Large polished floor tile, for example, may create a sleek showroom appearance but can be a poor choice in a wet bathroom. A matte or textured porcelain floor is often the more practical investment.
Avoid sharp countertop corners in tight paths. Choose cabinet pulls that are easy to grasp, faucets with lever handles or touchless operation, and mirrors that serve both standing and seated users. Storage should be within reach, with frequently used items placed in drawers rather than deep lower cabinets whenever possible.
Ventilation is equally important. A properly sized, vented exhaust fan helps control moisture, protects paint and drywall, and reduces the conditions that lead to mildew. In a bathroom remodel, this is not an optional finishing detail. It is part of building a room that performs well for the long term.
Know When ADA Dimensions Apply
Homeowners often use the term “ADA bathroom” to describe an accessible bathroom, but the Americans with Disabilities Act generally applies to public and commercial spaces rather than a private residence. Residential remodeling may not be required to meet every ADA dimension. Still, ADA-based guidelines can be useful reference points when planning clearances, toilet locations, grab bars, and turning space.
The goal should be a bathroom that fits the homeowner, the house, and applicable local requirements. A compact guest bath may not have room for a full wheelchair turning radius without moving walls. In that case, widening the door, improving the shower entry, adding blocking, and choosing safer flooring can still make a meaningful improvement. Accessibility is not all-or-nothing.
A well-planned accessible bathroom is built around real movement, reliable installation, and materials that will hold up under daily use. Take the time to measure the room, discuss future needs honestly, and make the structural decisions before finishes are ordered. That approach protects your investment and gives the finished space a better chance of serving your household comfortably for years to come.