A new shower can look finished the day the tile is installed and still have a leak developing behind the walls. Tile, grout, and caulk are finish materials, not a waterproof system. Knowing how to waterproof shower walls correctly means building protection behind the visible surface, where water has the chance to do the most expensive damage.
For Fort Worth homeowners, this work deserves careful planning. A shower leak can affect framing, insulation, adjacent rooms, flooring, and even the structure below. Proper waterproofing is not a place to cut corners to save a few dollars on a bathroom remodel. It protects the investment you are making in the entire space.
Start With a Sound Shower Wall Assembly
Waterproofing begins after the existing shower has been removed and the framing is exposed. Before any wall board or membrane goes up, inspect the studs for rot, mold, water stains, loose connections, and out-of-plumb framing. Old water damage is often more extensive than it first appears, especially around plumbing walls and the lower corners of a shower.
The wall framing needs to be flat and properly aligned. This matters because large-format tile and patterned tile both reveal uneven walls quickly. More importantly, a bowed wall can make it difficult for the waterproofing membrane and tile to lie flat without voids, wrinkles, or stressed seams.
If the shower layout is changing, complete the framing adjustments before waterproofing. Add solid blocking where shower doors, grab bars, benches, niches, and accessories will be installed. A shower door anchor driven into an unsupported area can create problems later, and adding blocking after the waterproofing is complete creates unnecessary penetrations.
Cement board, fiber-cement board, foam backer board, and certain approved gypsum-based products can all be part of a shower system, depending on the manufacturer and the waterproofing method. The key point is that a tile backer board is not automatically waterproof. Cement board, for example, handles moisture better than standard drywall, but it can still absorb water. It needs a properly installed moisture-management system.
Choose One Waterproofing Method and Follow It Completely
There are two common approaches for shower walls: a moisture barrier behind the backer board or a waterproof membrane installed on the face of the backer board. Both can work when installed correctly, but they should not be mixed without a system-specific reason.
A behind-the-board barrier usually uses polyethylene sheeting or roofing felt lapped so that any water reaching the board is directed downward into the shower pan. This approach is familiar and cost-effective, but it requires particular care at corners, penetrations, and transitions. It also does not protect the face of the backer board from becoming wet.
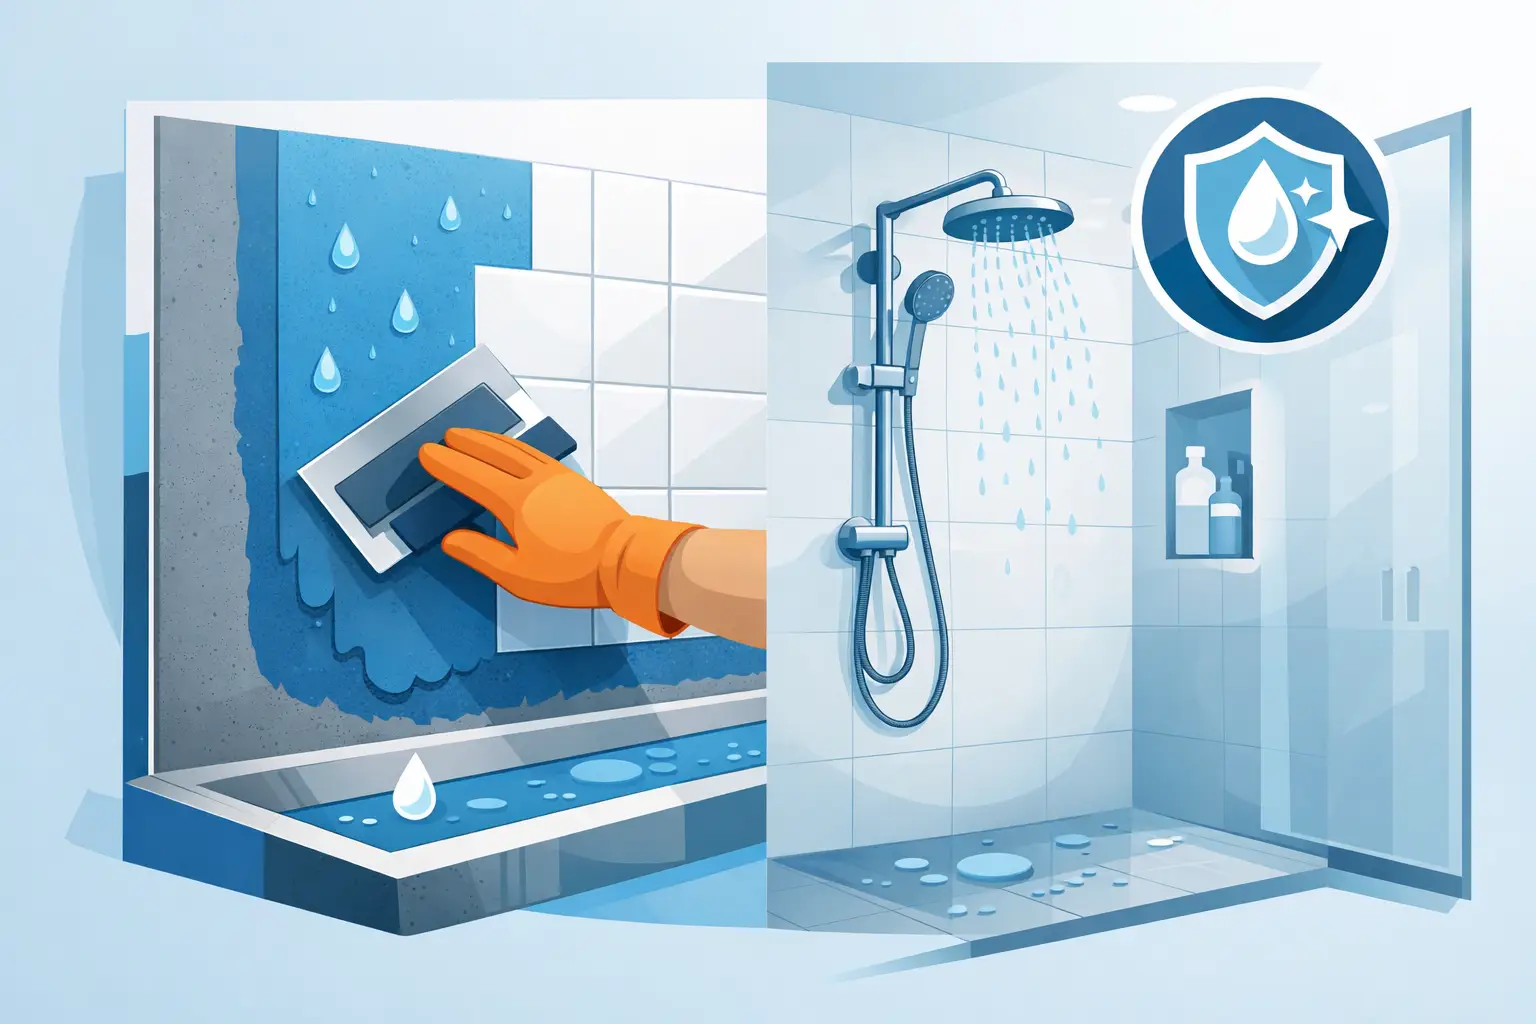
A surface-applied waterproofing system places the protective layer directly behind the tile. It may be a sheet membrane or a liquid-applied membrane. This approach is often preferred for custom showers because water is stopped closer to the finished surface. The wall board stays drier, and detailing around niches, benches, corners, and plumbing penetrations is generally easier to manage when all components are part of one compatible system.
Sheet membranes are installed with thinset mortar and sealed at overlaps, corners, and accessory connections. They offer consistent thickness when applied carefully. Liquid membranes are rolled, brushed, or troweled onto the wall surface. They work well, but only when applied at the manufacturer’s required thickness. A coat that looks complete can still be too thin to perform as intended.
Do not install a vapor barrier behind cement board and then add a surface waterproofing membrane unless the manufacturer specifically allows that assembly. Trapping moisture between two low-permeance layers can create a condition often called a moisture sandwich. The right method depends on the shower design, wall construction, and selected materials, but the system must be planned as a whole.
How to Waterproof Shower Walls at the Critical Details
Flat wall areas are usually straightforward. Corners, seams, penetrations, and horizontal surfaces are where workmanship matters most. Water follows gravity, but it can also wick into gaps and be pushed into joints during normal shower use.
First, install the backer board according to its requirements, leaving the proper gaps between panels and at the shower pan or tub flange. Fasteners should be corrosion-resistant and set at the required spacing. Avoid placing fasteners where they will interfere with plumbing, and do not assume fastener holes are protected unless the waterproofing system seals them.
Next, treat every board joint and inside corner. With a liquid system, this commonly means embedding reinforcing fabric in the first coat at seams and corners before applying additional coats. With a sheet system, use the manufacturer’s approved banding and corner pieces. Seams need the specified overlap. A narrow overlap or a dry, poorly bonded seam can become a leak path hidden behind beautiful tile.
Shower niches need special attention. A recessed niche creates several corners and horizontal ledges, all of which must be waterproofed before tile is installed. The bottom of the niche should slope slightly toward the shower so water does not sit against the back wall. The same principle applies to benches, pony walls, curbs, and the tops of half walls. Any horizontal surface in a wet area should pitch toward the drain.
At the mixing valve, shower head arm, body sprays, and other plumbing openings, use approved seals or carefully detailed membrane patches. Caulk around trim plates is not the primary waterproofing at these locations. The membrane behind the trim must do its job first.
Finally, connect the wall waterproofing to the shower pan system. This transition is one of the most important parts of the entire installation. Whether the project uses a traditional mortar bed and liner, a bonded waterproofing pan, or a prefabricated shower base, the wall system must tie into it so water is directed into the drain assembly rather than behind the pan.
Respect Dry Times and Manufacturer Specifications
Waterproofing products are systems, not generic materials that can be substituted casually. Membranes, sealants, thinset mortars, drains, backer boards, and preformed corners are designed to work together. Mixing products from different manufacturers may void warranties or create uncertain performance at the connections that matter most.
Liquid-applied membranes are especially dependent on proper application. The installer should use the recommended number of coats, confirm wet-film or dry-film thickness as required, and allow each coat to dry before applying the next. Rushing the process can leave weak spots, pinholes, or areas that never cure correctly.
The job also needs a flood test when the shower includes a tiled pan or other field-built waterproofed base. The drain is plugged, the pan is filled to the proper level, and the water level is monitored for the required period. A flood test is far easier to perform before tile than after a completed bathroom has a leak. It is a practical quality-control step, not an optional extra.
Common Shortcuts That Lead to Shower Failures
The most common mistake is relying on tile and grout to stop water. Grout is porous to varying degrees, and hairline cracks in grout or caulk can happen as a home moves through normal seasonal changes. Even properly sealed grout should not be expected to serve as the waterproof barrier.
Another shortcut is using standard drywall in a tiled shower. While some specialty boards are approved for specific waterproofed assemblies, ordinary drywall has no place behind shower tile. It can soften, support mold growth, and fail quickly once water reaches it.
Poorly built niches, unsealed screw holes, skipped corner reinforcement, and insufficient membrane coverage are also frequent trouble spots. So is tiling before the waterproofing has been inspected or allowed to cure. These errors may not show up for months, which is why the work behind the tile requires accountability from the start.
Plan the Waterproofing With the Entire Bathroom in Mind
A shower is not separate from the rest of the bathroom remodel. Tile selection affects wall flatness requirements. A frameless glass enclosure affects where blocking is needed. A curbless shower may require floor framing changes, drainage planning, and precise slope. Heated floors, vanity locations, exhaust ventilation, and plumbing upgrades all need coordination before the walls are closed.
That is where professional project oversight brings value. At Barrington One Construction, bathroom work is approached as a complete assembly rather than a collection of individual tasks. Proper protection of the home, careful preparation, material coordination, and experienced installation help prevent costly surprises after the room is finished.
A well-built shower should give you confidence every time you turn on the water. Ask to understand the waterproofing method, how the walls connect to the pan, and how critical areas such as niches and plumbing penetrations will be detailed. Clear answers before tile goes up are one of the best ways to protect your bathroom for the years ahead.